Trimming Down Your Dress
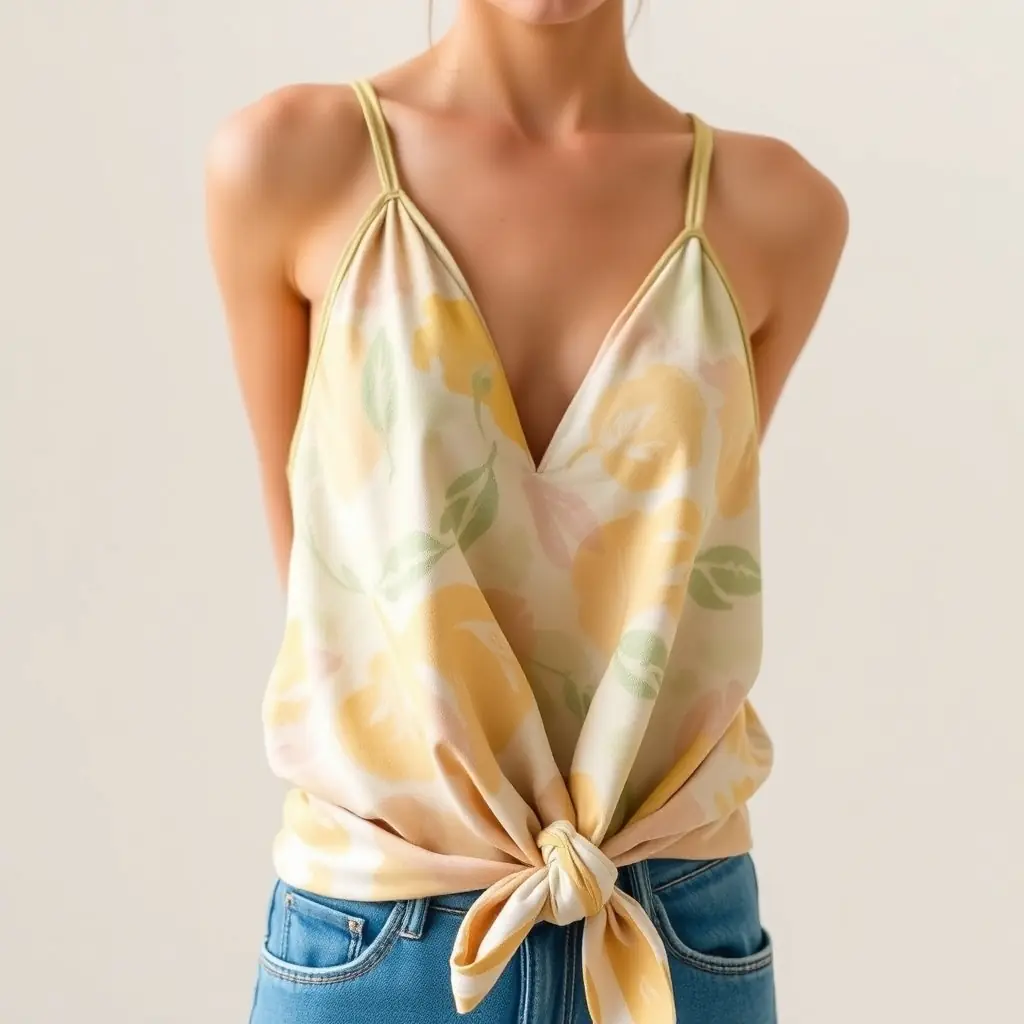
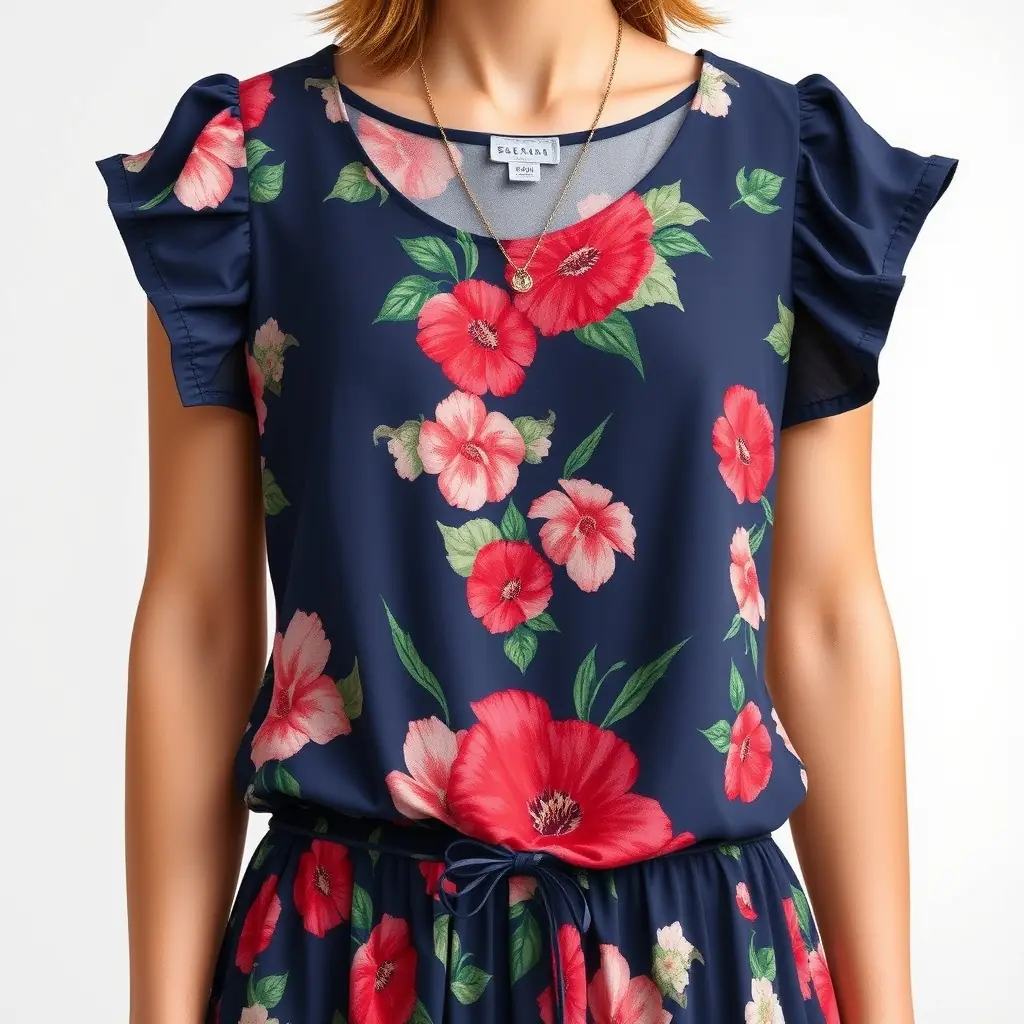
Have you ever looked at an old dress and thought, 'I'd wear this if only it were a top'? I faced that dilemma with a floral dress that lay dormant in my closet for years. First, gather your tools: a good pair of fabric scissors, chalk for marking, and a reliable sewing machine. Begin by laying the dress flat on a table, examining the length, and deciding where you'd like your top to end. With chalk, mark a straight line about one inch below your desired top length for hems. Cutting through fabric can be nerve-wracking, so make sure your scissors are sharp for a smooth, clean cut. Once trimmed, double-fold the cut edge to avoid fraying and pin it securely. Set your sewing machine to a straight stitch and sew close to the fold, making sure you remove pins as you go. This process not only transforms the dress's shape but gives you a versatile wardrobe piece that saves resources and money. The best part? You'd never think the chic top with its neat hems had once hung forlorn and forgotten.
Adding Adjustable Straps
Adjustable straps can change everything. With your new top, measure the length from your shoulder to ensure a perfect fit. I personally prefer using fabric from the dress's skirt section for a cohesive look, although coordinating hues can work if you like a contrast. Cut two strips of fabric, each about two inches wide and long enough to fit comfortably over your shoulders. Fold each strip in half lengthwise, then sew along the edge, leaving one end open. Turn the fabric right-side out using a safety pin to guide it through, and press flat with an iron. To attach, simply sew each strap onto the inside of the top, adjusting the length as needed before finalizing the stitch. The open-ended design allows for easy adjustments. This little hack finishes off the garment professionally, eliminating the fear of awkward slipping while wearing. Finishing a DIY project with attention to such details feels incredibly satisfying and gives your garment that polished off-the-rack look.

Styling and Customization
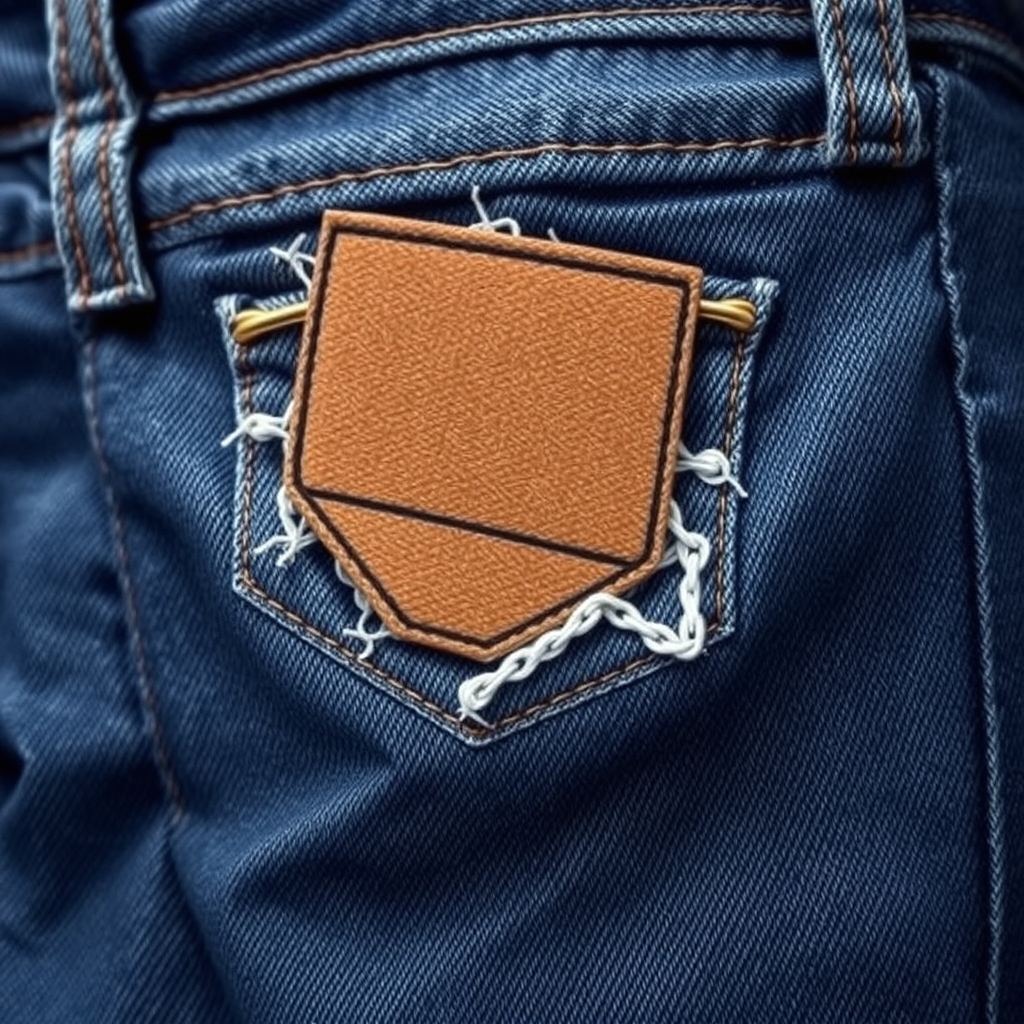
Now comes the fun part: styling. What I've learned is that a little creativity goes a long way in making your upcycled clothes truly yours. Consider adding embellishments like sequins, patches, or even embroidery along the neckline or hem for some extra flair. For those into tie-dye, your freshly sewn top can become a canvas for vibrant patterns. If you lean minimalist, even something as simple as swapping out straps for chic chain links can elevate its look instantly. On a particularly creative day, I decided to add a front knot to one of my tops for a casual vibe perfect for a summer's day out. With DIY projects, the key is to embrace imperfections and treat them as part of the design process. This makes each piece not only unique but filled with your own personality, turning what was once fabric destined for a thrift store into a cherished custom piece you'll love to wear again and again.