Cutting the Jeans into Usable Panels
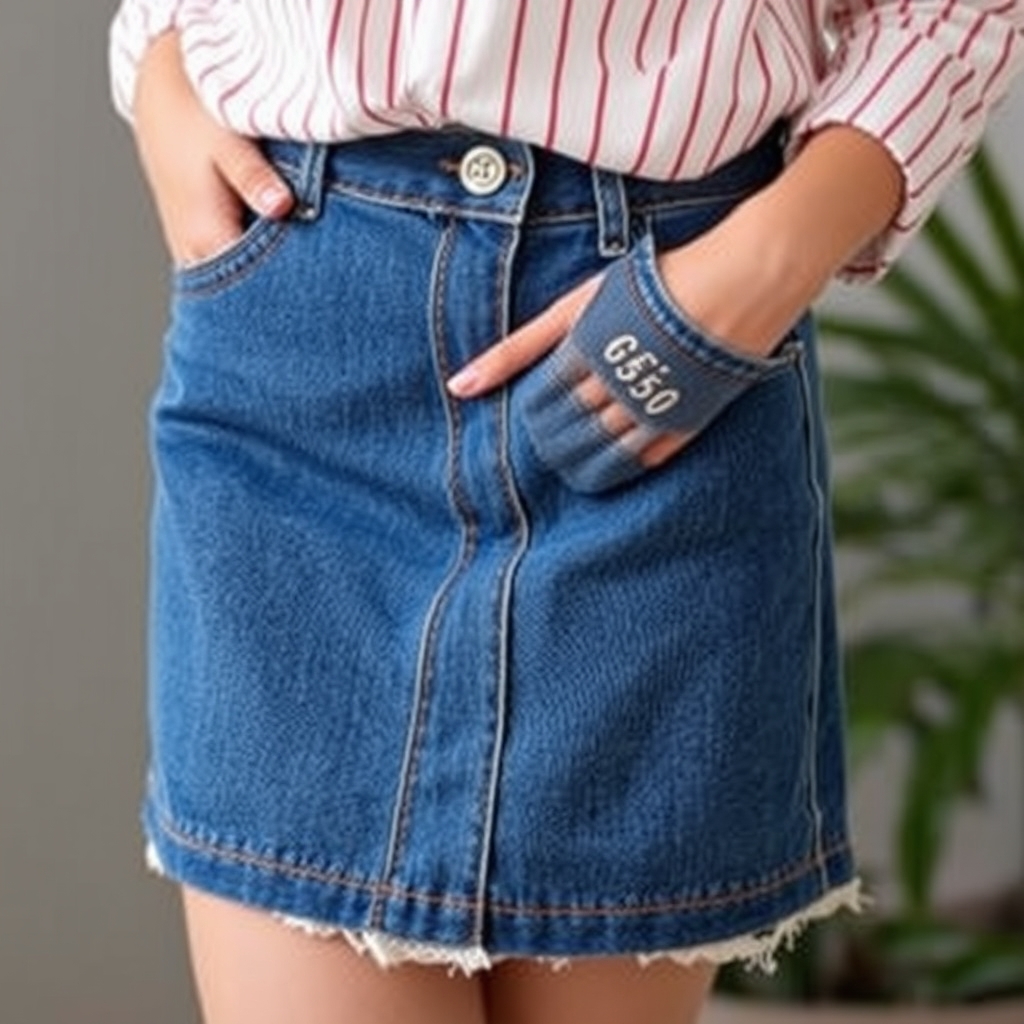
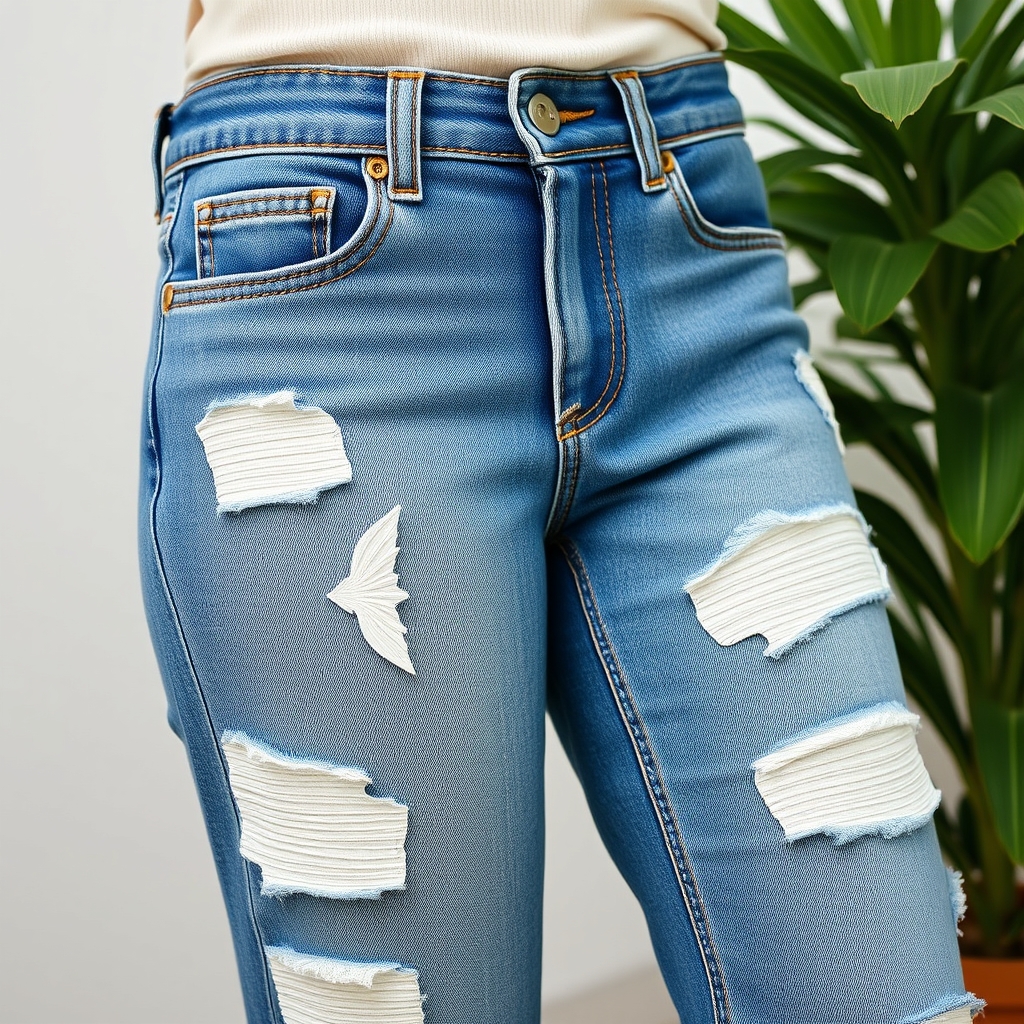
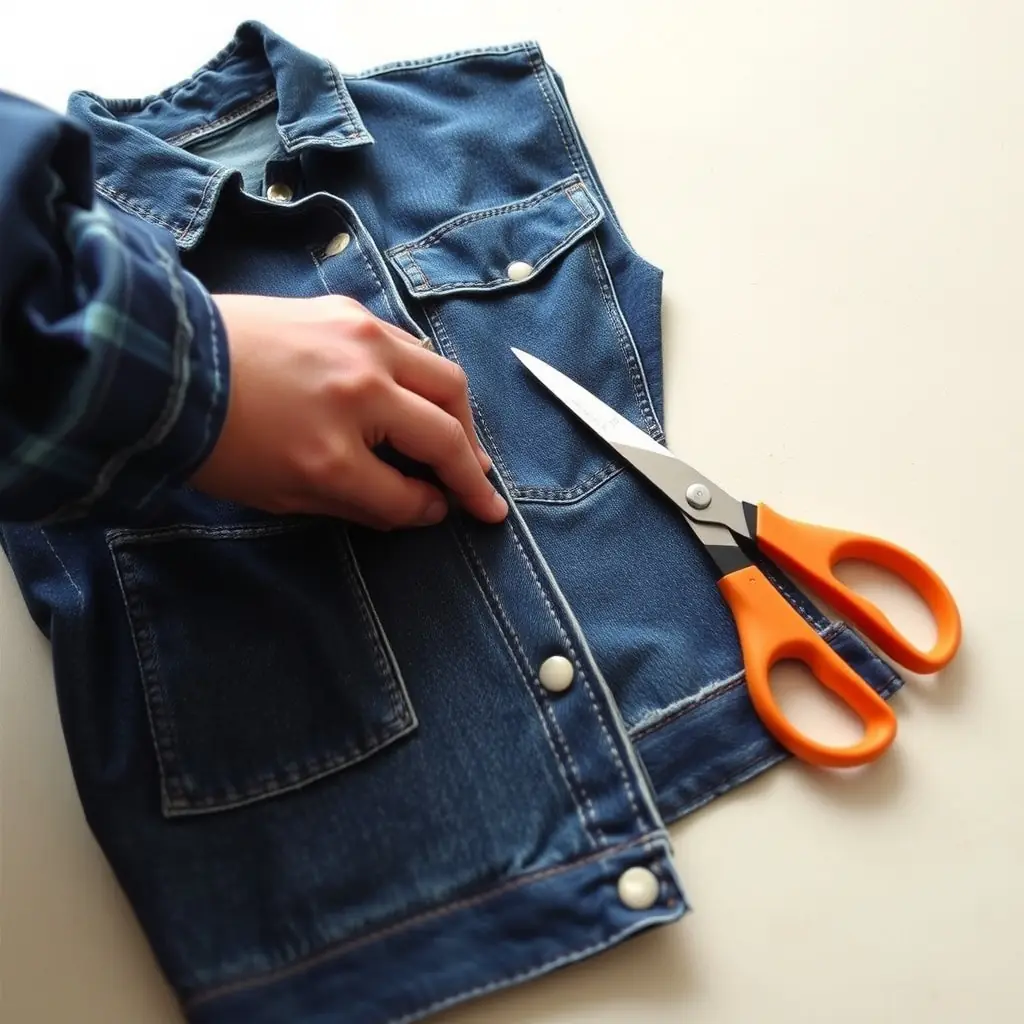
Starting with a pair of old jeans destined for the donation pile, transform them into something entirely new. First, lay the jeans flat on a cutting surface. With a sharp pair of fabric scissors, cut along the inseam to separate the front panel from the back. This step is crucial as it provides the material for your jacket's body and sleeves. From raw edges to pocket positioning, everything matters here. Make sure to work patiently, ensuring your cuts are straight and clean. When I do this, I even use tailor's chalk to mark my lines before cutting; it saves me from crooked panels later. Once you've got your strips, consider how you want your jacket to look. Play around with pocket placements and fabric positioning. This stage is about having the vision to see how these disparate pieces can come together to form a cohesive garment. Mistakes happen, and that's okay. Denim is forgiving—and one of the joys of working with it is that even errors can become design features. Just remember to leave a little extra fabric around the edges for seam allowances and any adjustments you might need to make during assembly.
Sewing It All Together
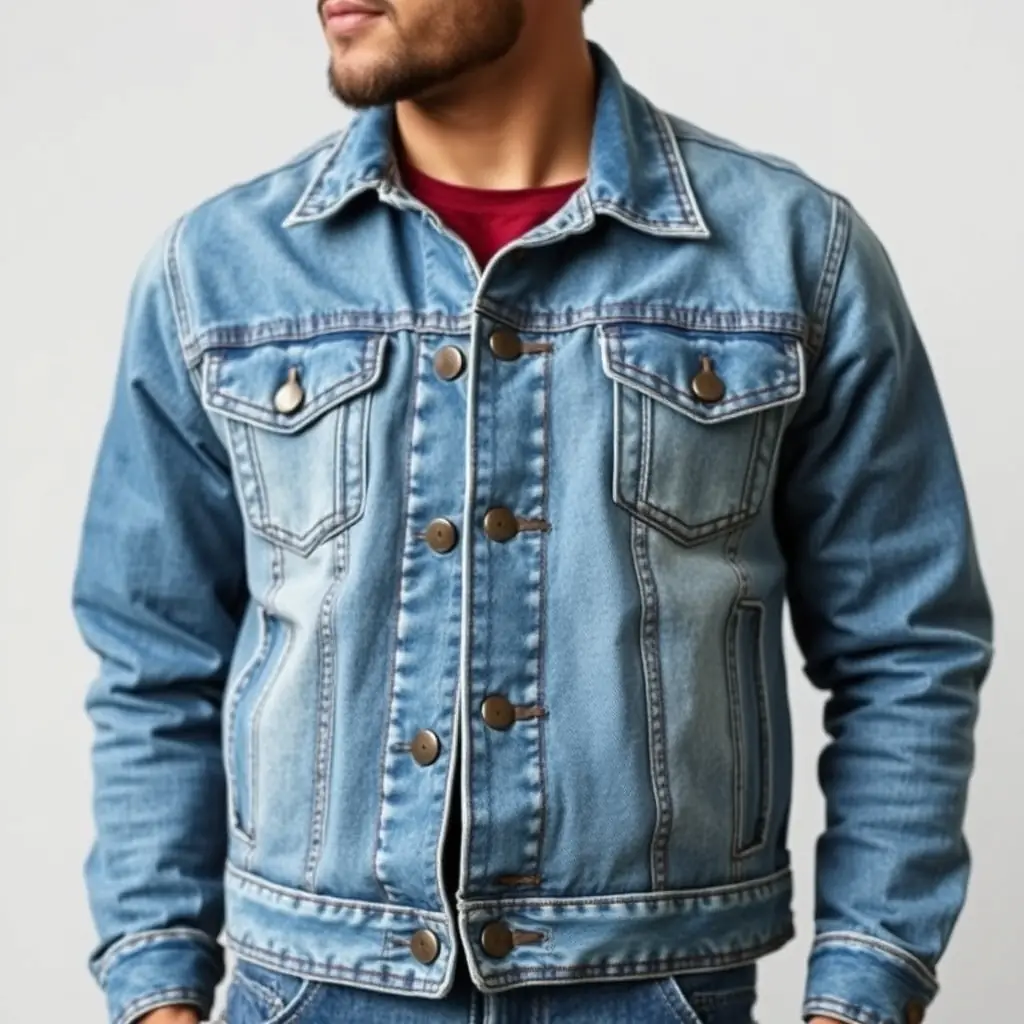
The sewing machine is your best friend for this project, but don't underestimate the value of a good hand stitch for the finishing touches. Start by sewing the larger panels together to form the jacket's back and shoulders. Use a heavy-duty needle; denim isn't as forgiving on standard sewing needles. I make sure my stitches are tight; otherwise, you risk the seams giving way under stress. For the sleeves, you'll need to get a little creative, especially if you're repurposing thinner strips from the jeans. Match the strongest pieces to high-wear areas like elbows and underarms. Use a straight stitch for major seams but switch to a zigzag if you encounter any areas more likely to fray. It's those little tweaks that ensure your jacket not only looks but lasts like it came from a boutique. Once everything is stitched together, try on the jacket. It's crucial to make any sizing adjustments before adding any embellishments. A well-fitted jacket transforms an outfit, so don't rush this step. I often pin the jacket and make minor adjustments, sometimes by an inch or two, to ensure it sits perfectly.
Finish with Flourishes
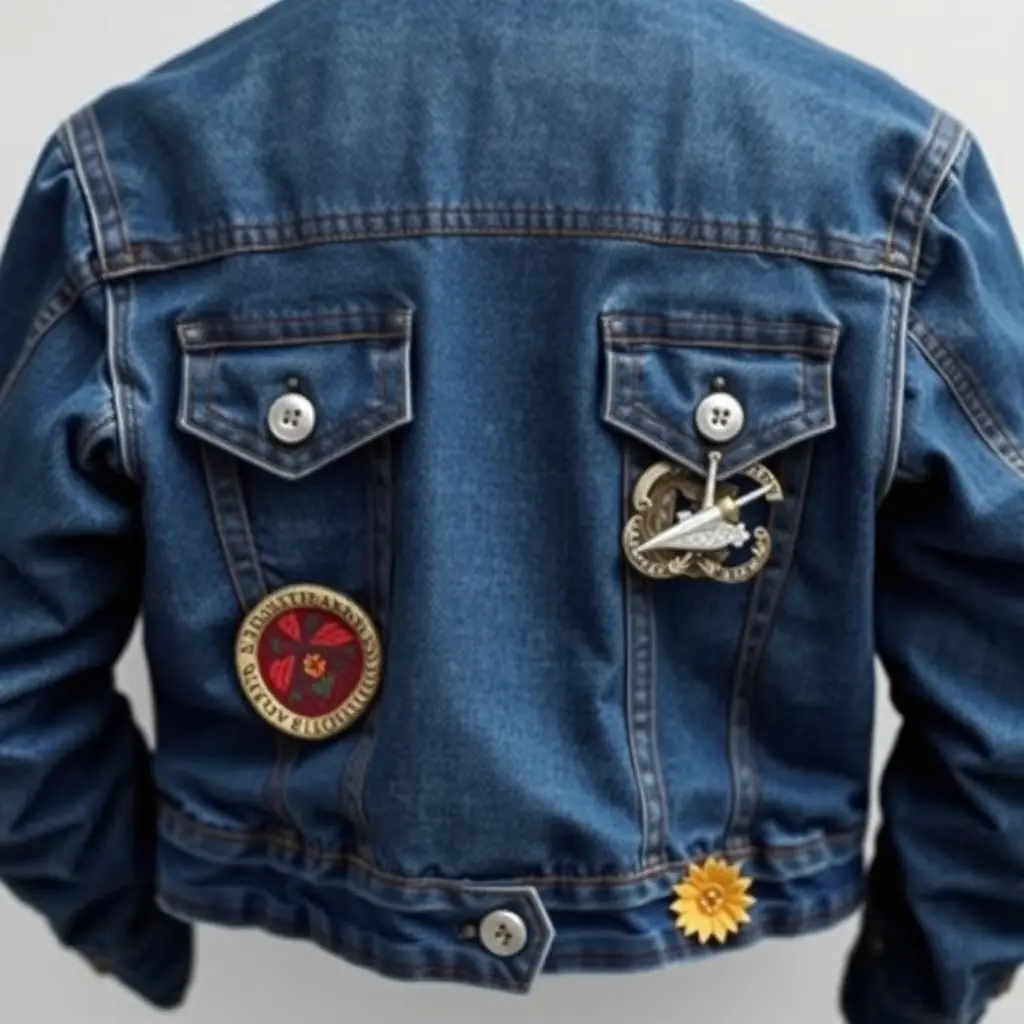
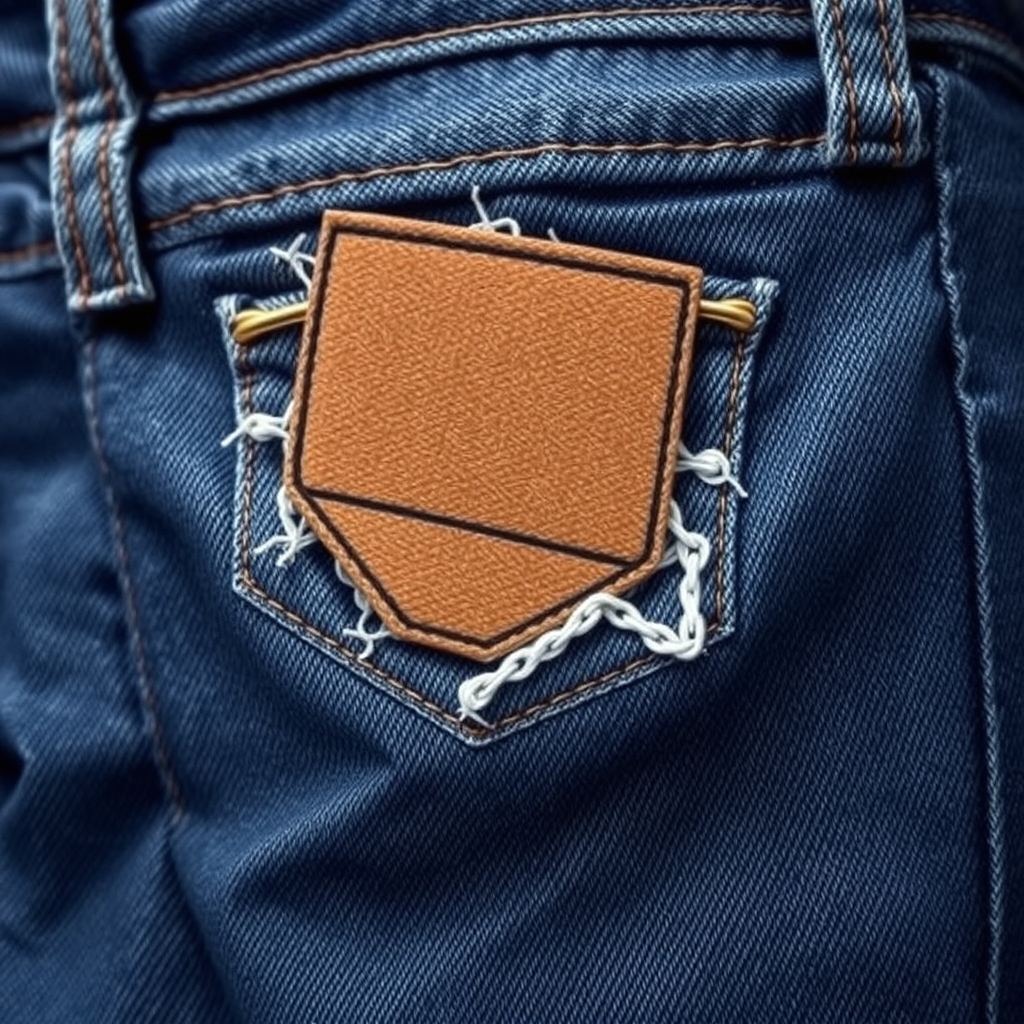
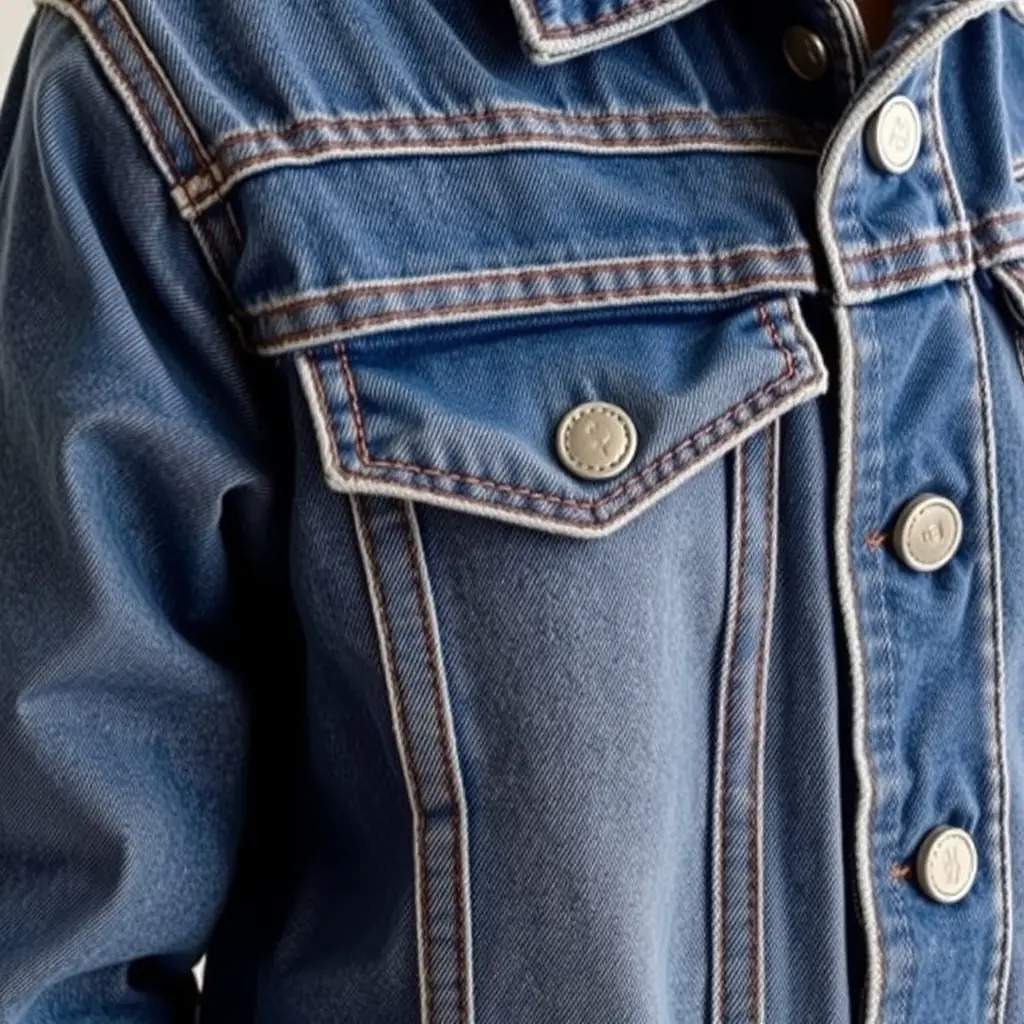
This is the part where the jacket really becomes yours. Adding patches, paints, and other embellishments allows your personality to shine through. Experiment with fabric paint for a splash of color, or sew patches from memorable fabric scraps to add a personal history to your creation. One thing I enjoy doing is adding a patch of similarly textured but contrasting fabric to the inside seams—little surprises that give the jacket character. Don’t forget a custom button or two; it's amazing how such a small detail can elevate the entire piece. Whether metallic, wooden, or fabric-covered, the choice of button can change the jacket's vibe in an instant. Don't be afraid to try something unconventional. The finishing process is not just about looks; it's also about reinforcing the garment. Use fabric glue to secure loose threads, and consider placing simple rivets where seams meet heavy use, like shoulders or elbows. The end result should be something you're excited to show off, having transformed simple denim into a custom piece of wearable art.