Patch It Up with Personality
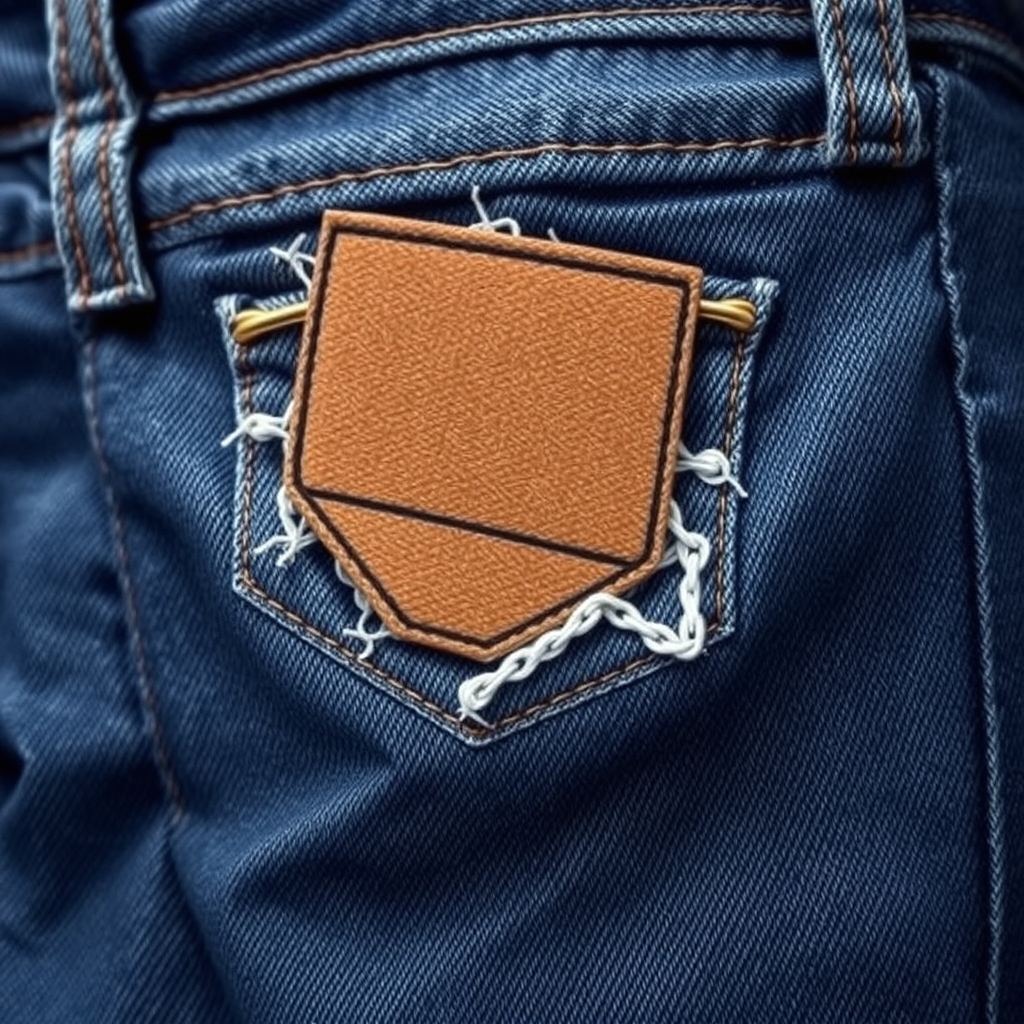
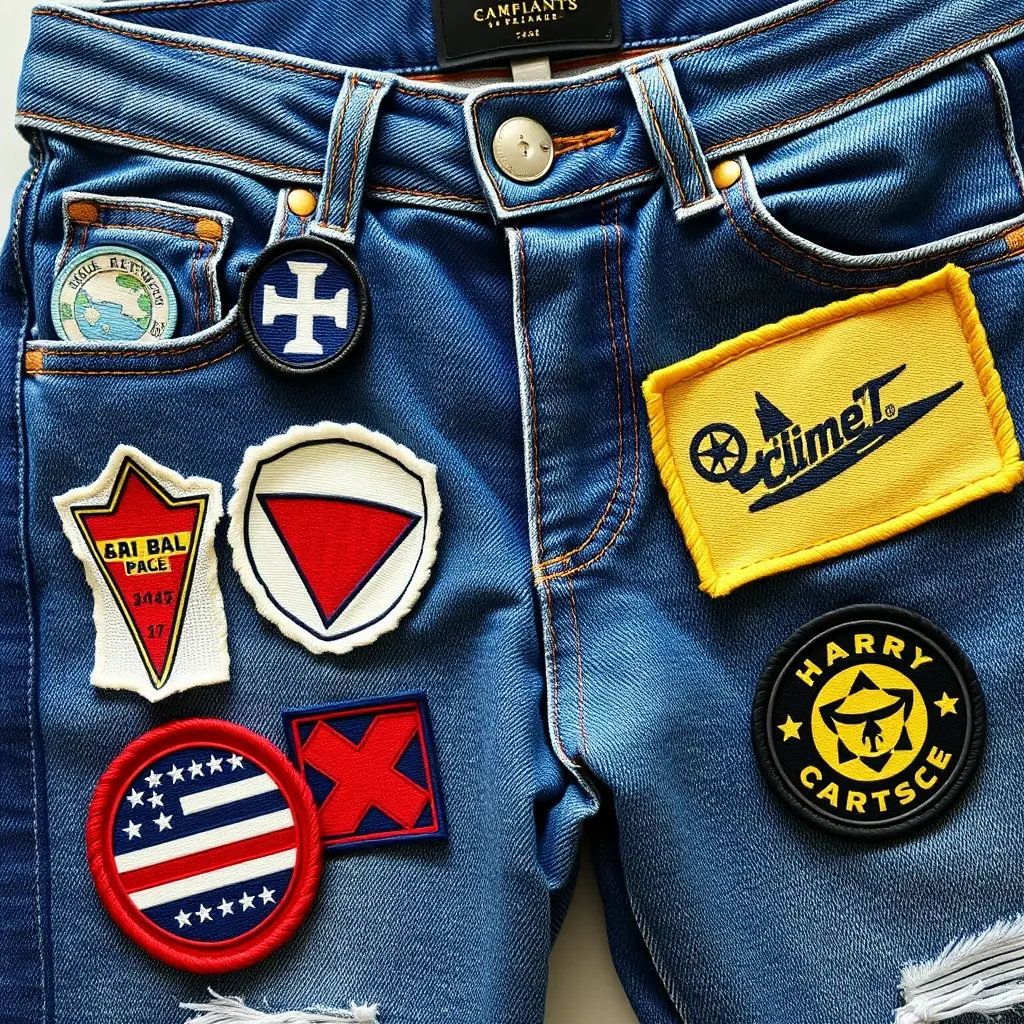
Revamping your old jeans doesn't need a huge budget or professional skills. My favorite project is adding patches, which gives your denim a unique look. Start by gathering patches that resonate with your style—think vintage logos or quirky designs. Fabrics stores are great places to look, and you can even recycle some from old clothing like an old favorite tee. After selecting your patches, arrange them on your jeans for a visual preview. I use a fabric glue for temporary placement—so forgiving if you change your mind! Once happy with the layout, stitch them securely. A zig-zag stitch works beautifully, adding durability and flair. My go-to's a contrasting thread for a pop of color! This project isn't just about appearance. It's the joy of seeing something ordinary become extraordinary, crafted by your hands. Make sure patches are machine wash safe, and remember, there's no real limit to what you can stick on denim, making each pair truly one-of-a-kind. Every piece ends up with its story, a wearable reminder of your creativity.
Brush Up with Fabric Paint
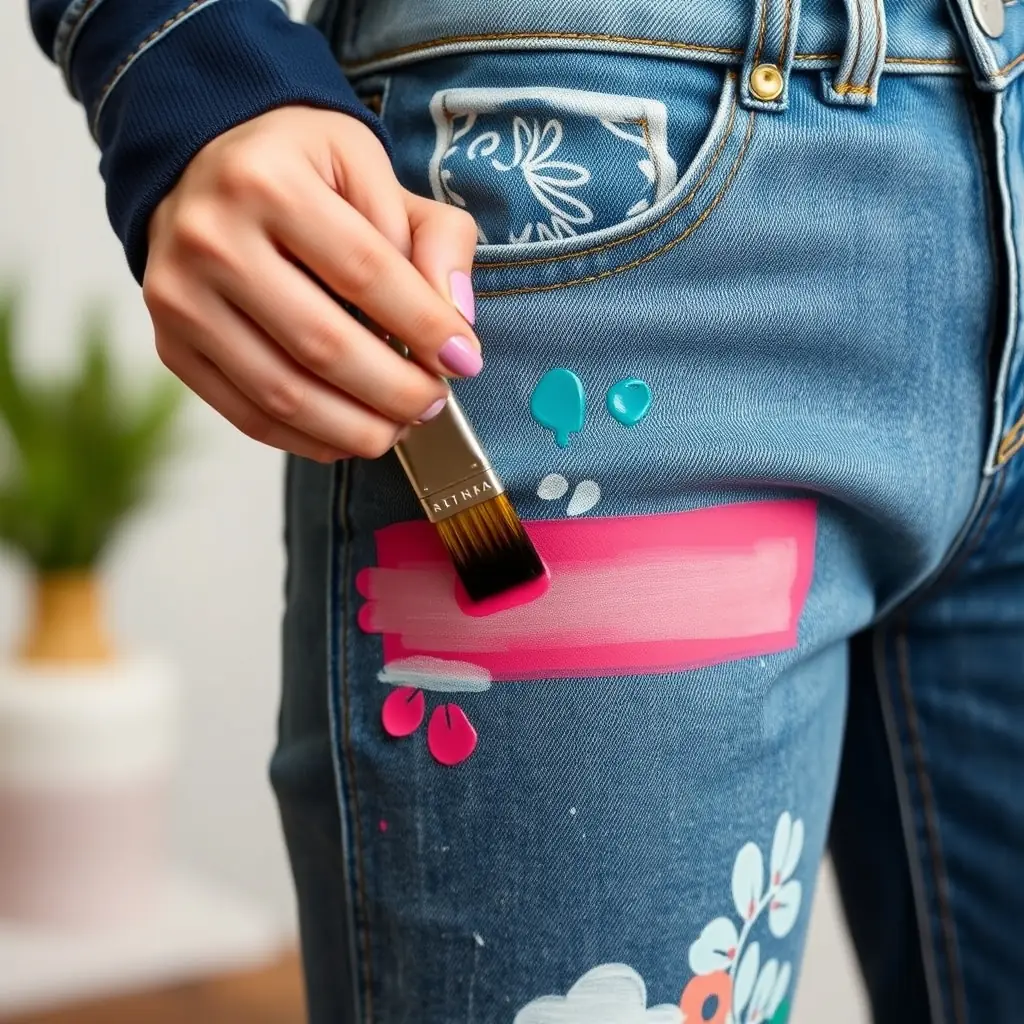
Customizing jeans with fabric paint opens up endless possibilities. Start with basic supplies: brushes, fabric paint, and masking tape. Fabric paint is specifically formulated to stick to textile fibers, so don’t just grab any paint—it's essential. Think of the design, whether it’s bold lines or delicate floral patterns, then use masking tape to outline areas for precision. This method prevents bleed and gives you clean edges. I personally adore contrasting colors that stand out against blue denim. Always test paint on a scrap piece—the absorption on denim can be tricky and depends on its brand. Once you're ready, get painting! Short strokes work wonders, especially with intricate details. Allow it to dry thoroughly, usually about 24 hours, to prevent smearing. Heat-set the paint with an iron on a low setting, using a thin cloth as a buffer. This ensures your design stays put, even through multiple washes. Painting jeans isn’t just about the aesthetic; it’s a form of self-expression, turning plain into personalized, with the bonus of being wearable art.
DIY Distressing Essentials
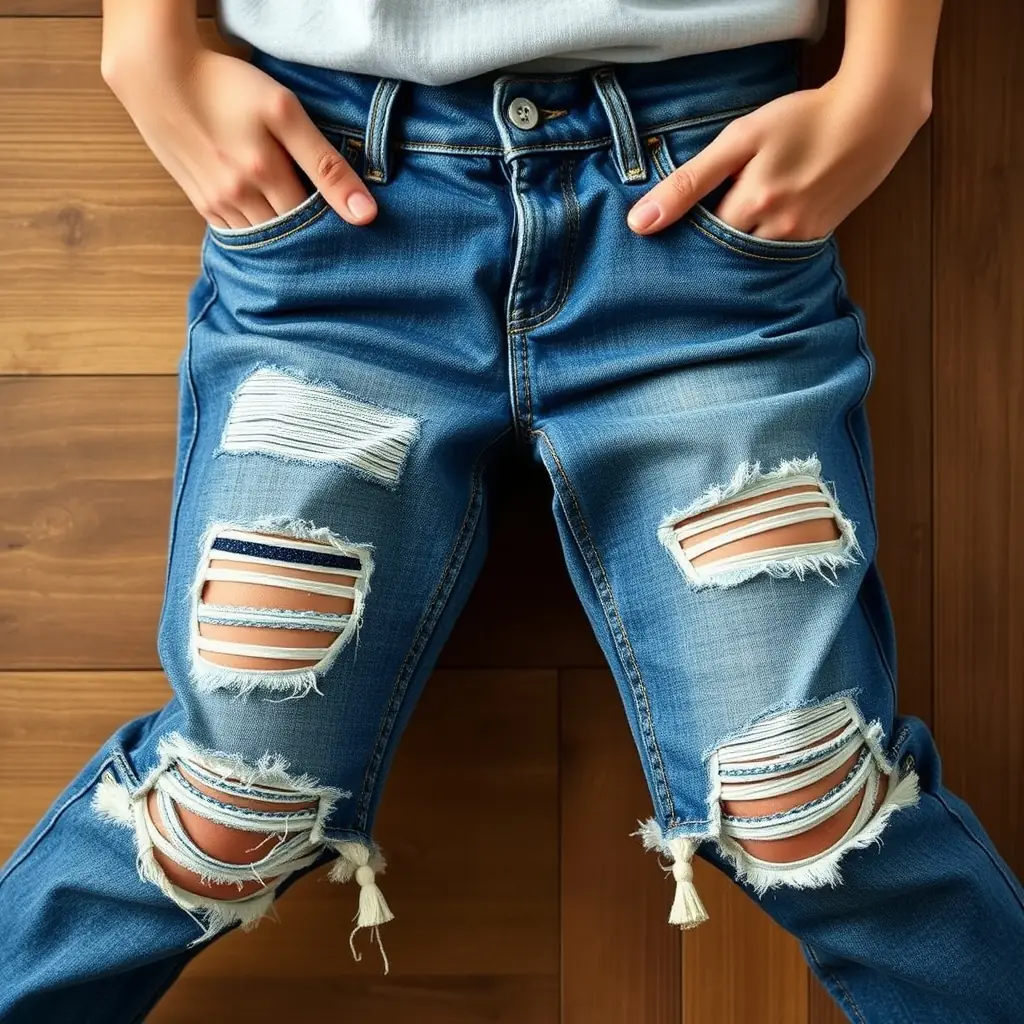
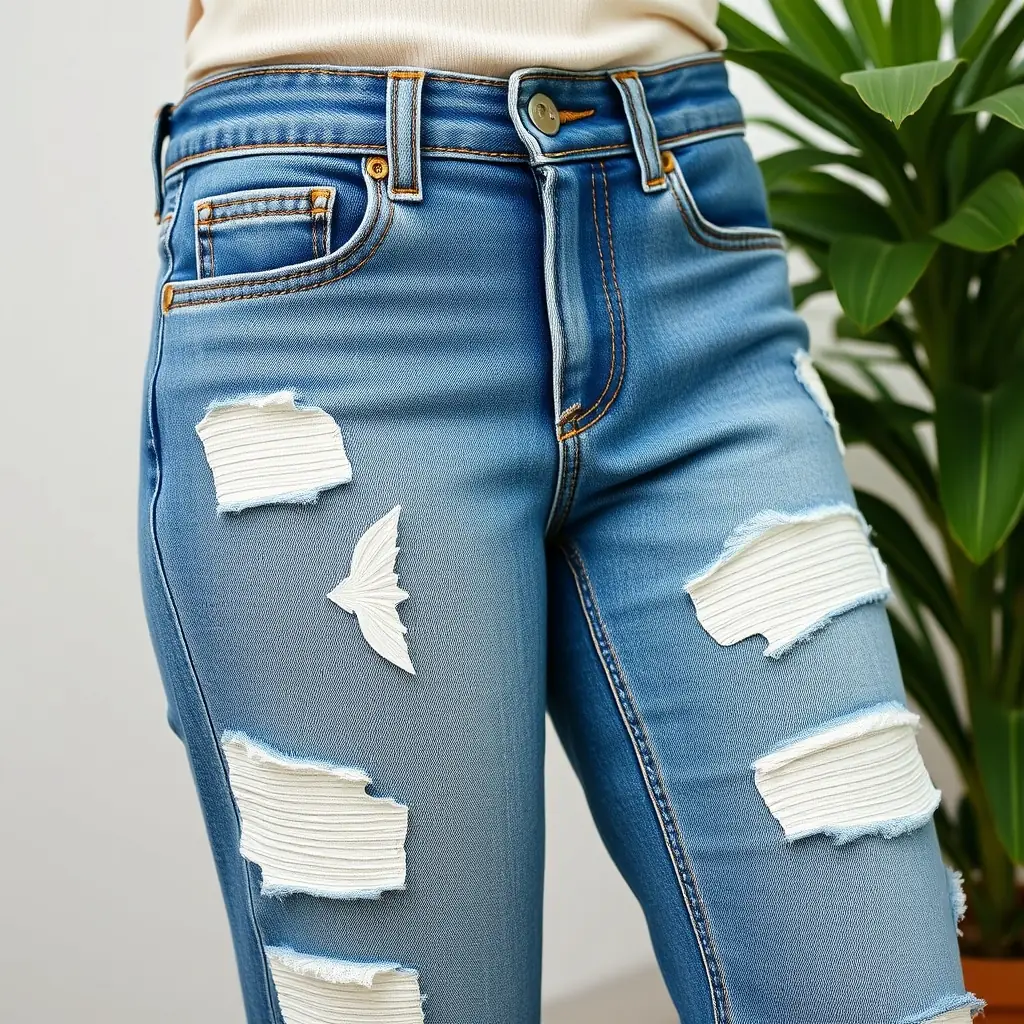
Distressing jeans for that lived-in look is my go-to weekend project. All you need is a pair of scissors, sandpaper, and a grater. Mark the spots you wish to distress. Common areas are knees and thighs where natural wear occurs over time. Always slide a cardboard or plastic sheet inside to protect the other side of the jeans. Begin with scissors to create small slits—never too big; they can grow with wear. My favorite trick is to pull out horizontal threads with tweezers, creating a clean, distressed pattern. Next, use sandpaper to roughen up these spots and any other place you feel needs aging. Work the grater on the pocket edges and hems for an authentic frayed look. Remember, little is more—overdoing it can quickly go from trendy to trashy. The beauty of distressing lies in its imperfection, each ragged edge and loose fiber speaks of considered craftsmanship. Once done, toss them in the laundry. The wash softens the newly distressed edges, enhancing the natural worn-in look. Overcome the initial anxiety and embrace this easy way to transform tired denim into a fashion statement all your own.